
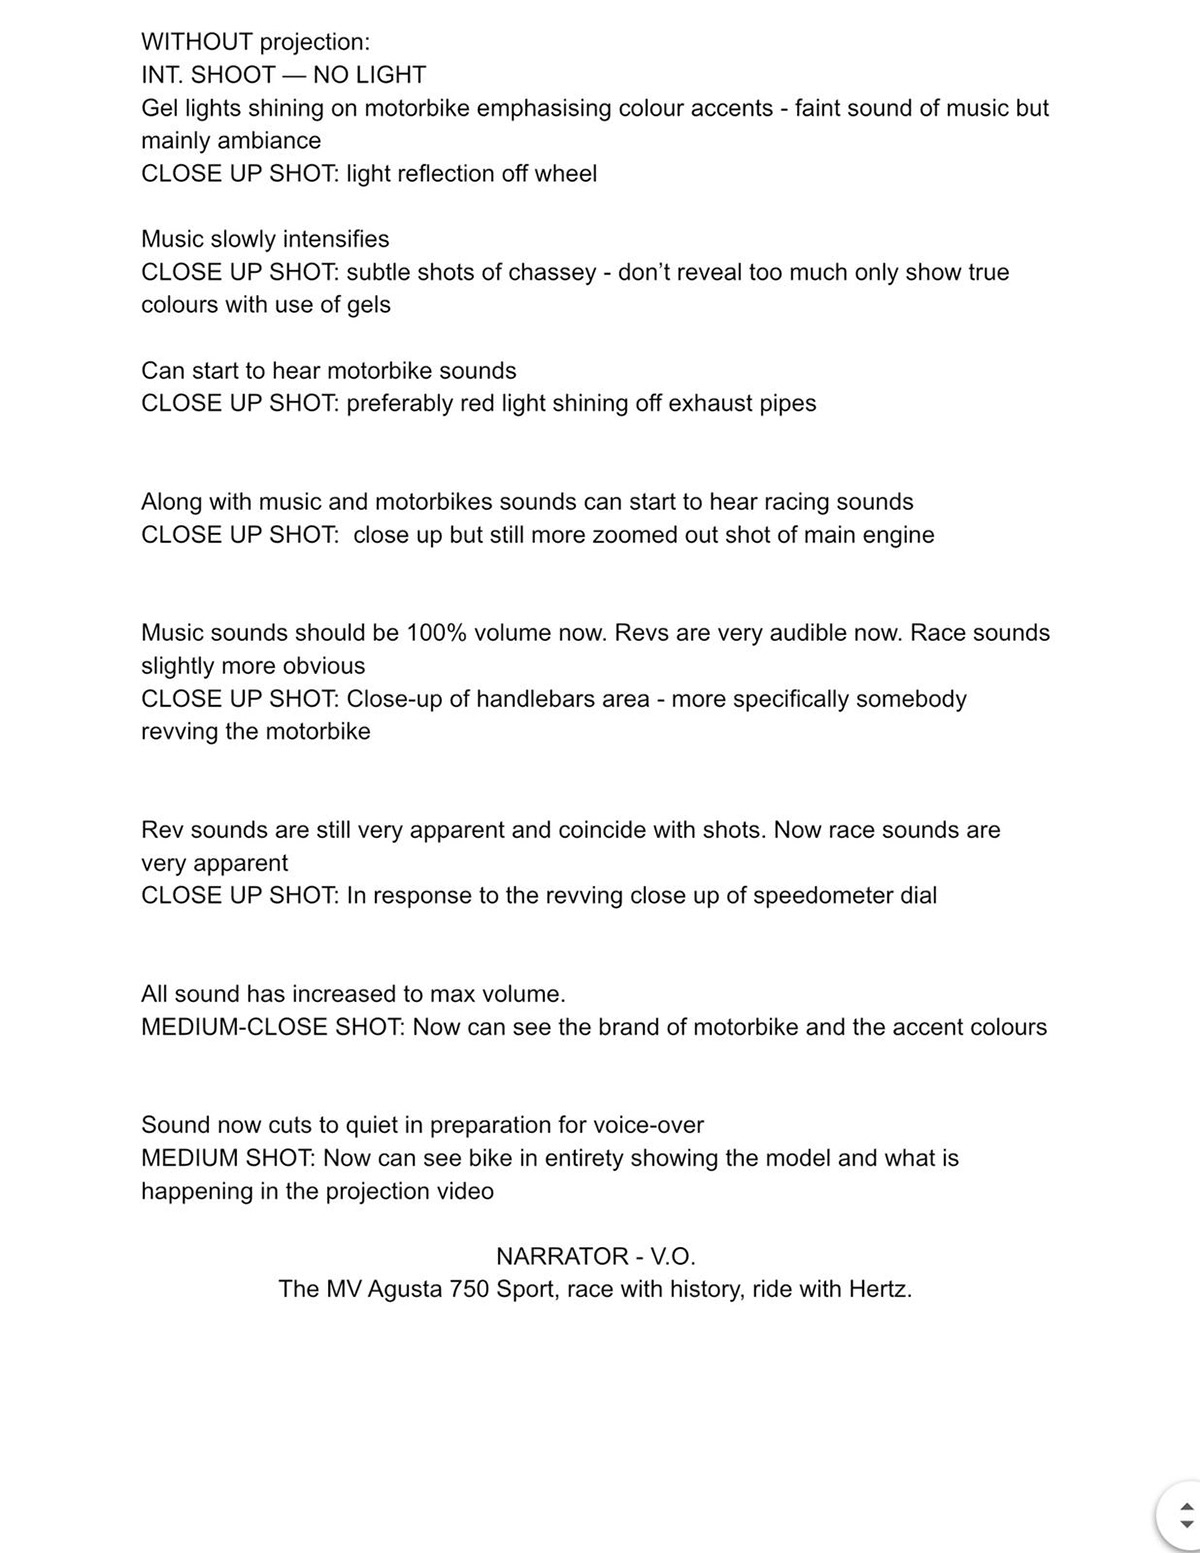
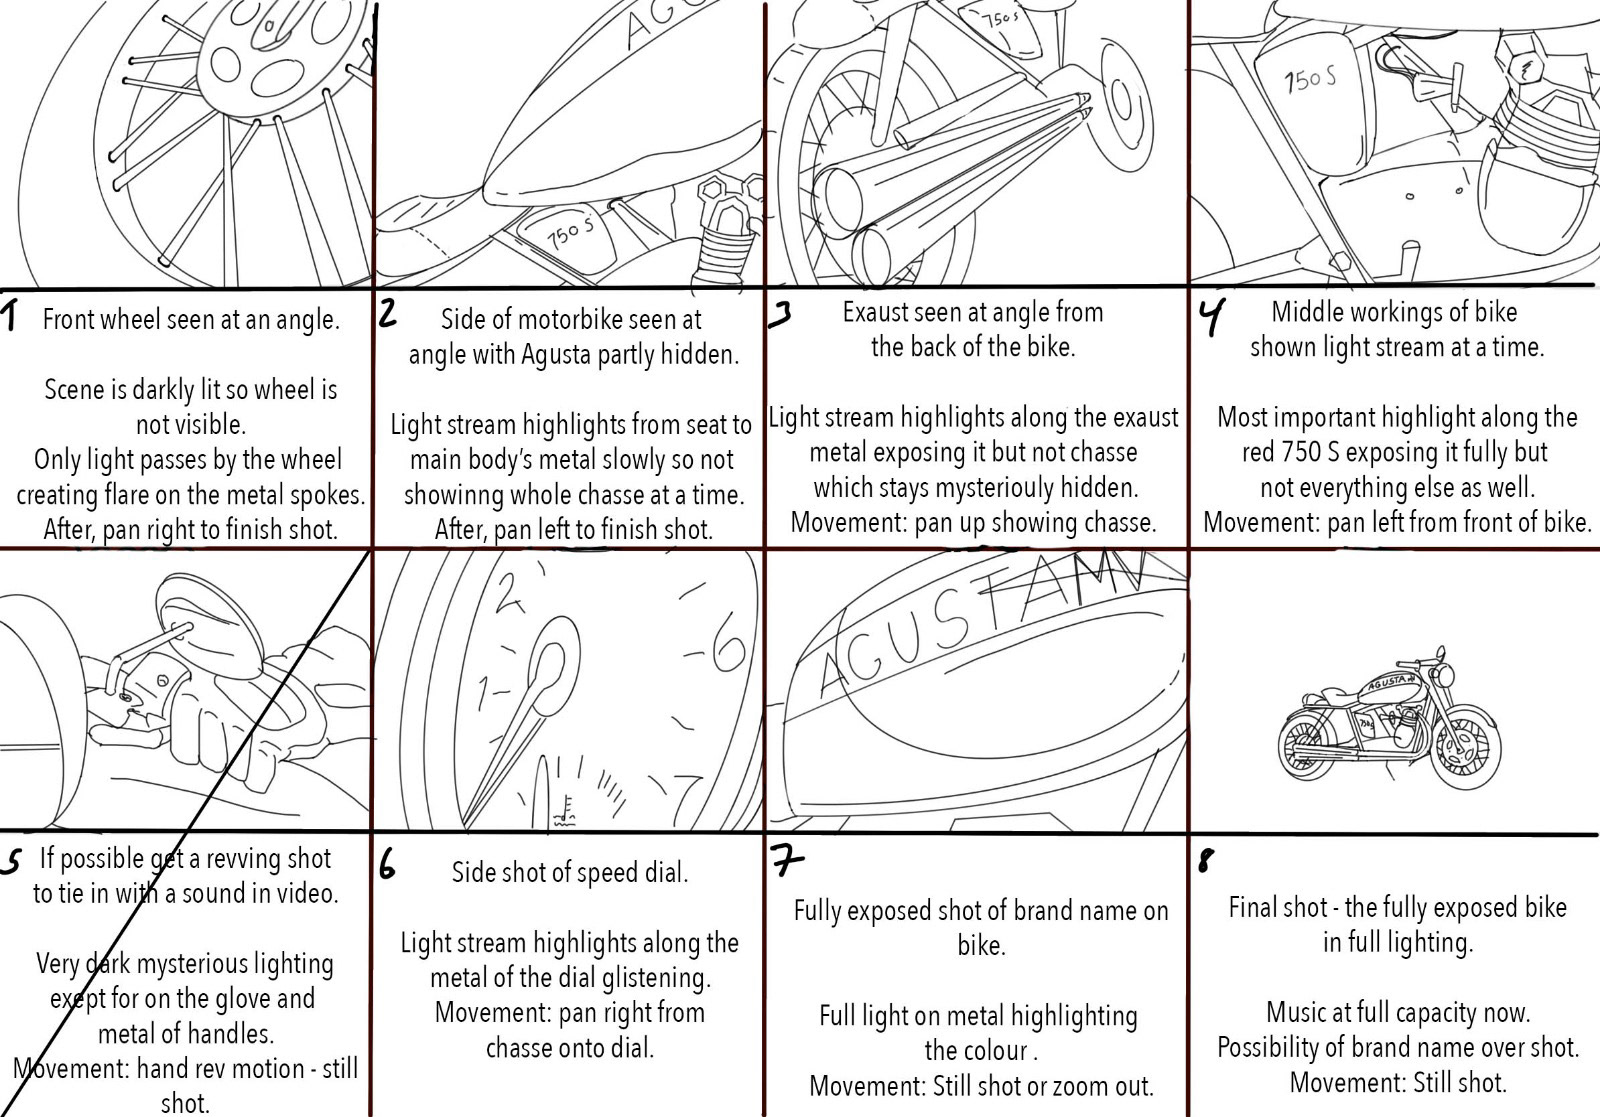
The first Step
The first step that had to be completed was to draw up a storyboard and a script. This allowed us to know what sound effects and music to use, and shot type and the movement of the shot. This helped to give a clear idea of what we needed to do during the filming process and allowed us to light it as we wanted.
Below is the script and storyboard that was made for the shot.
The Second Step
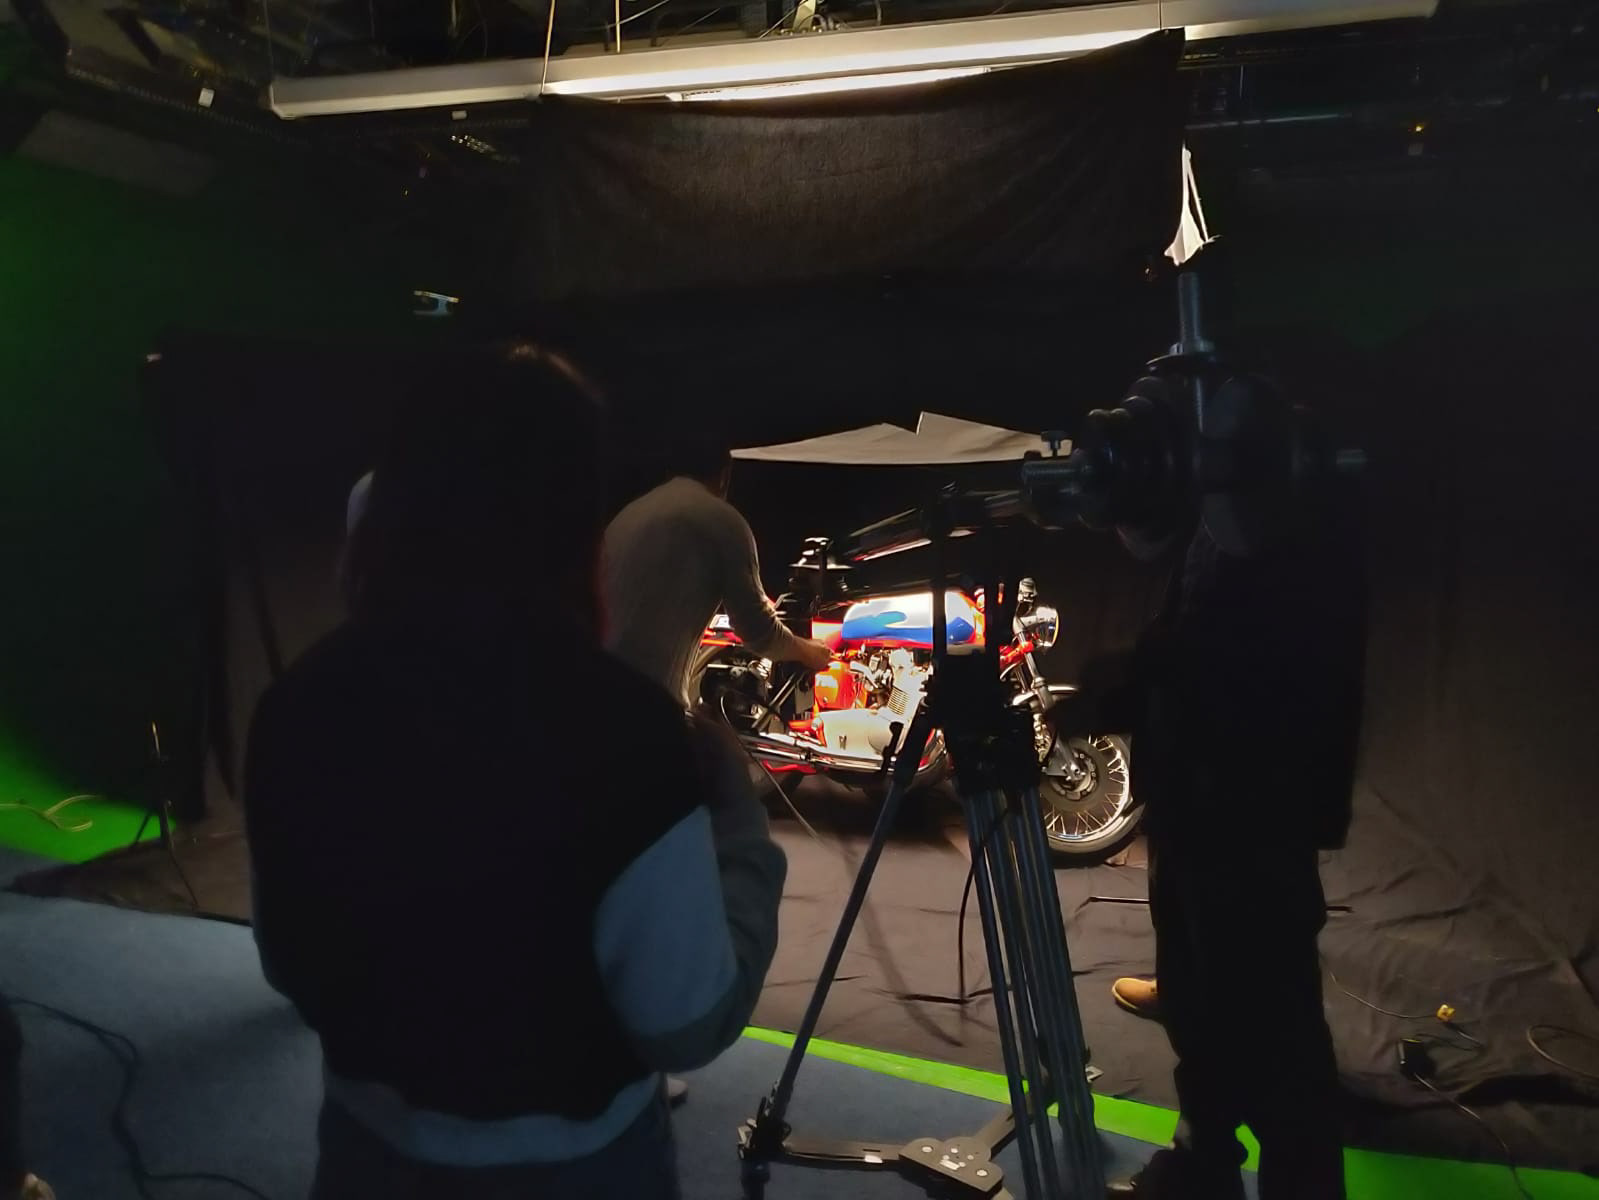
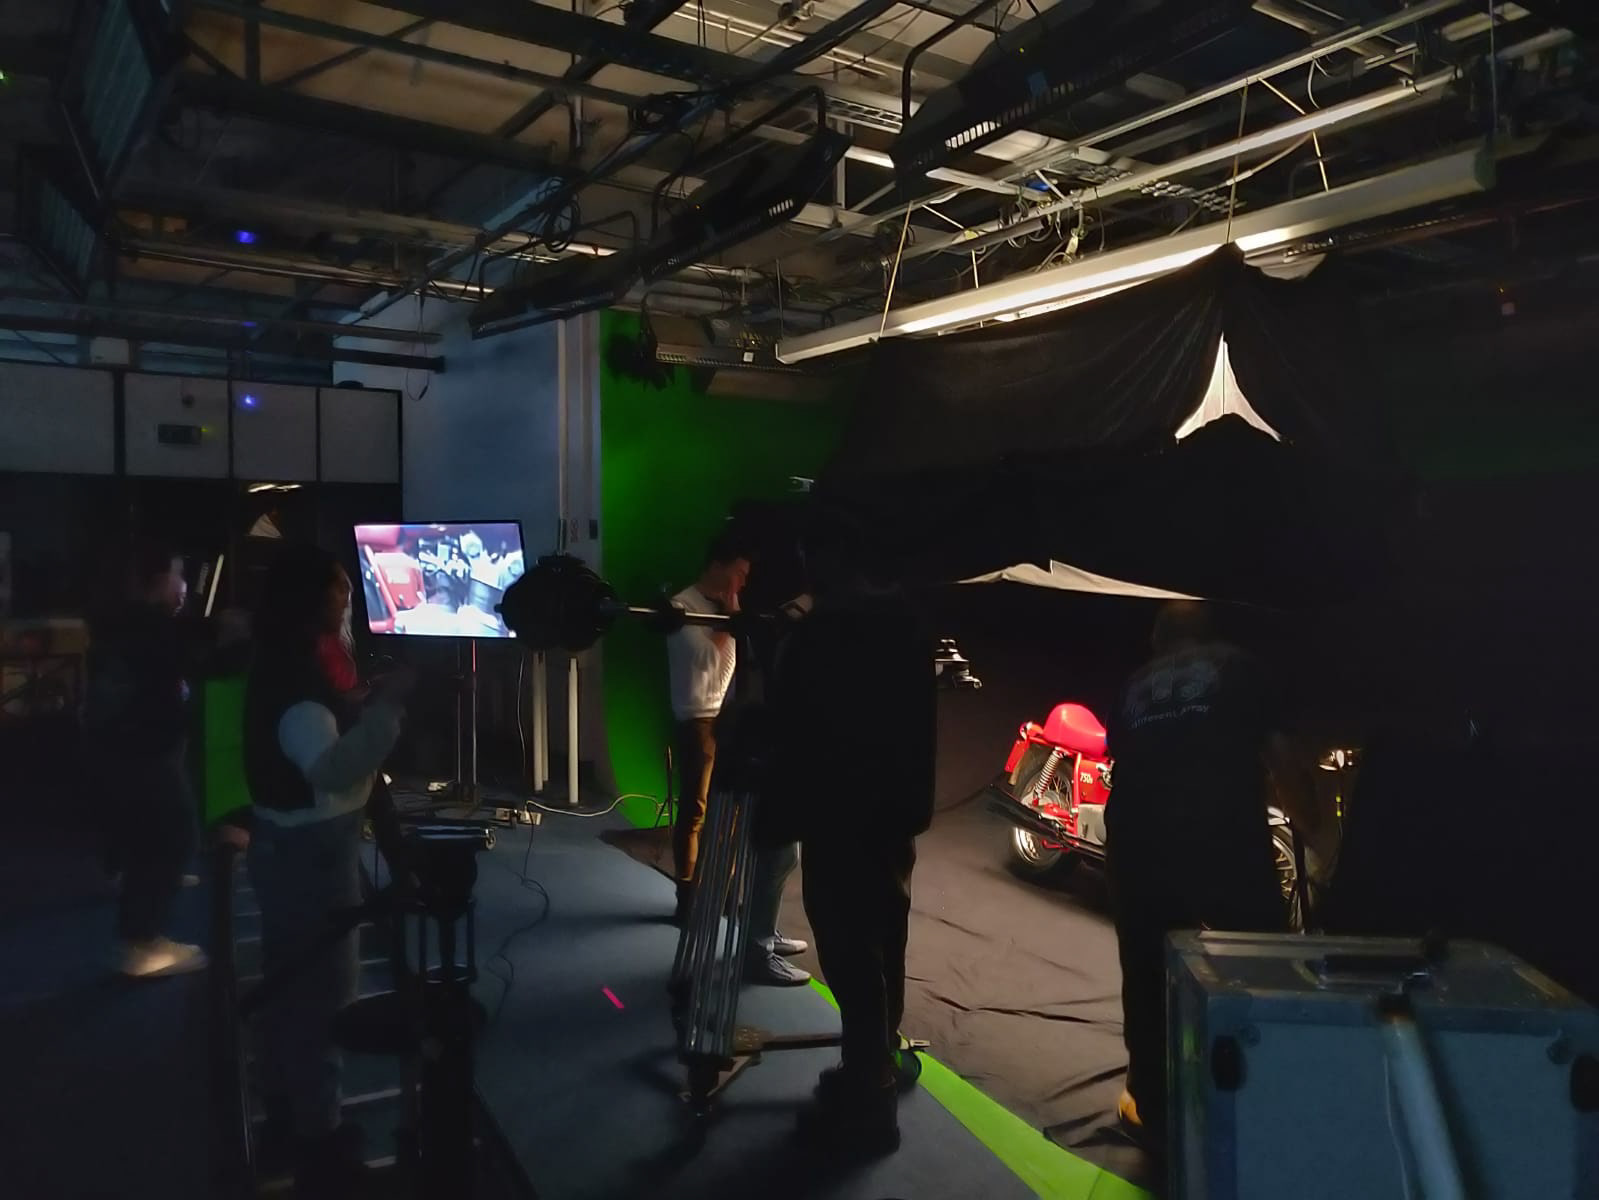
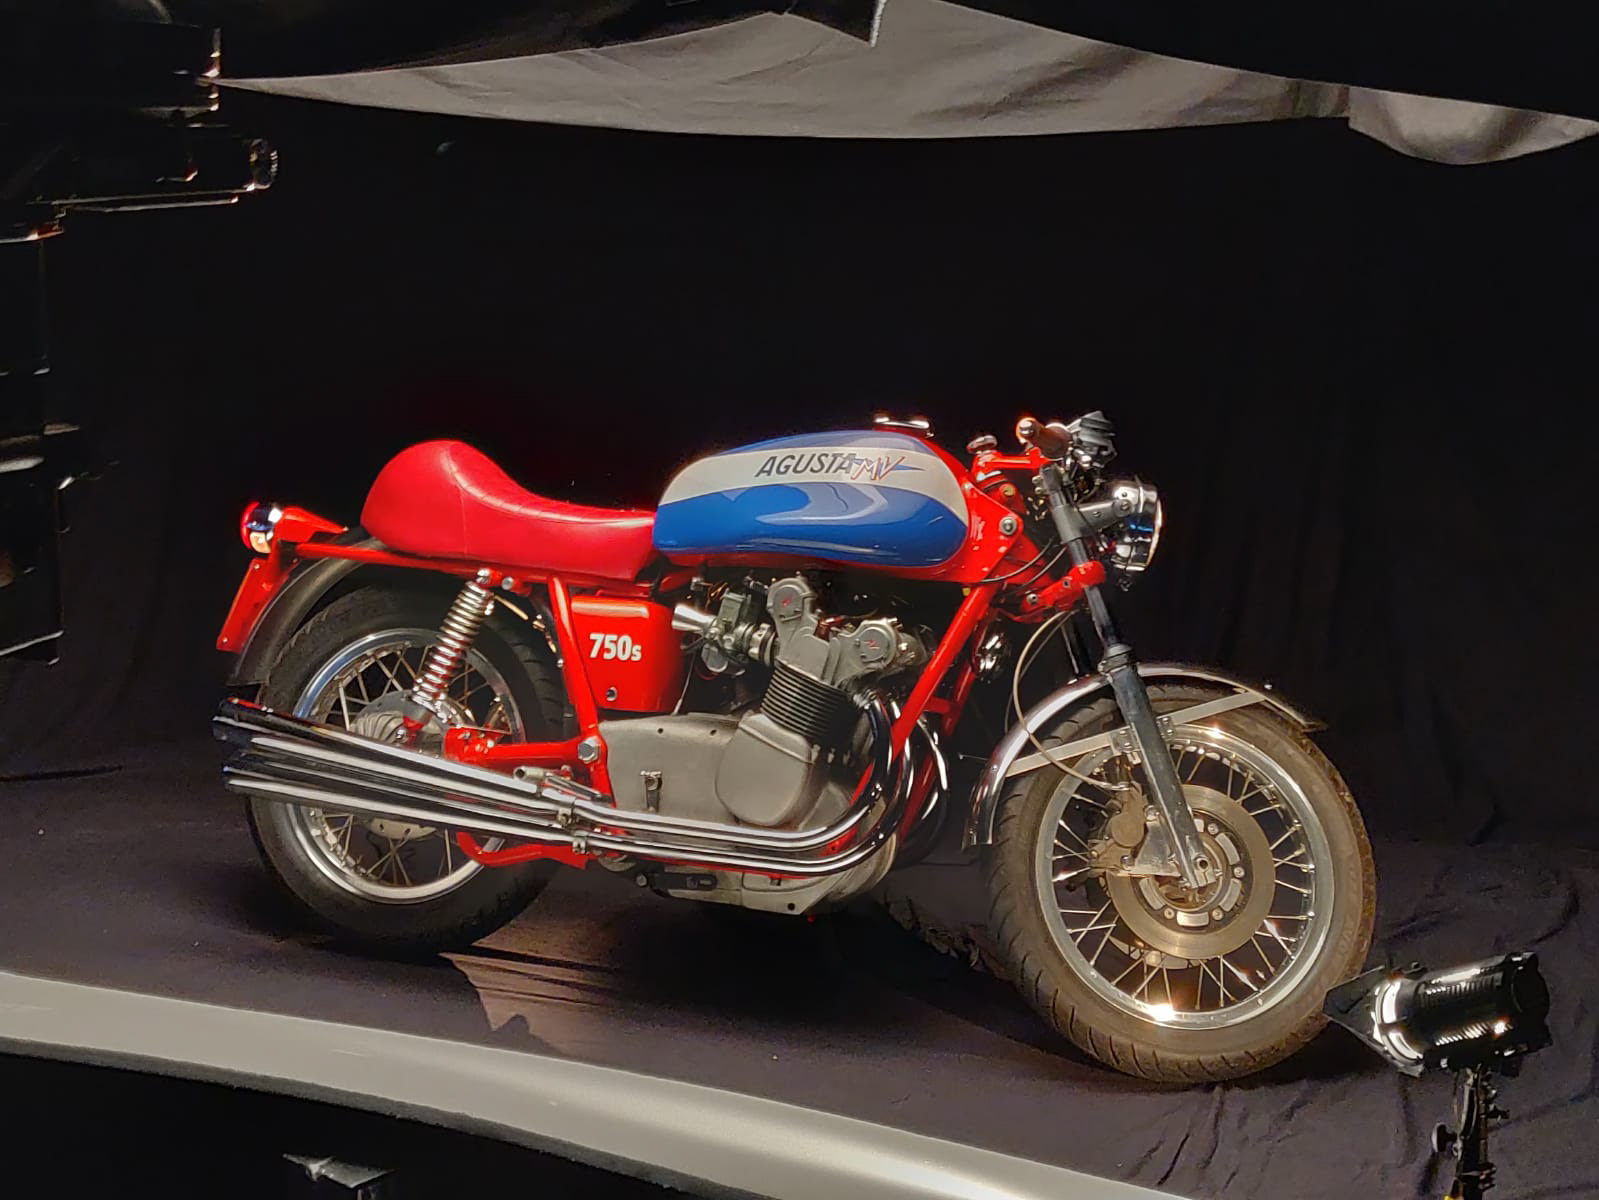
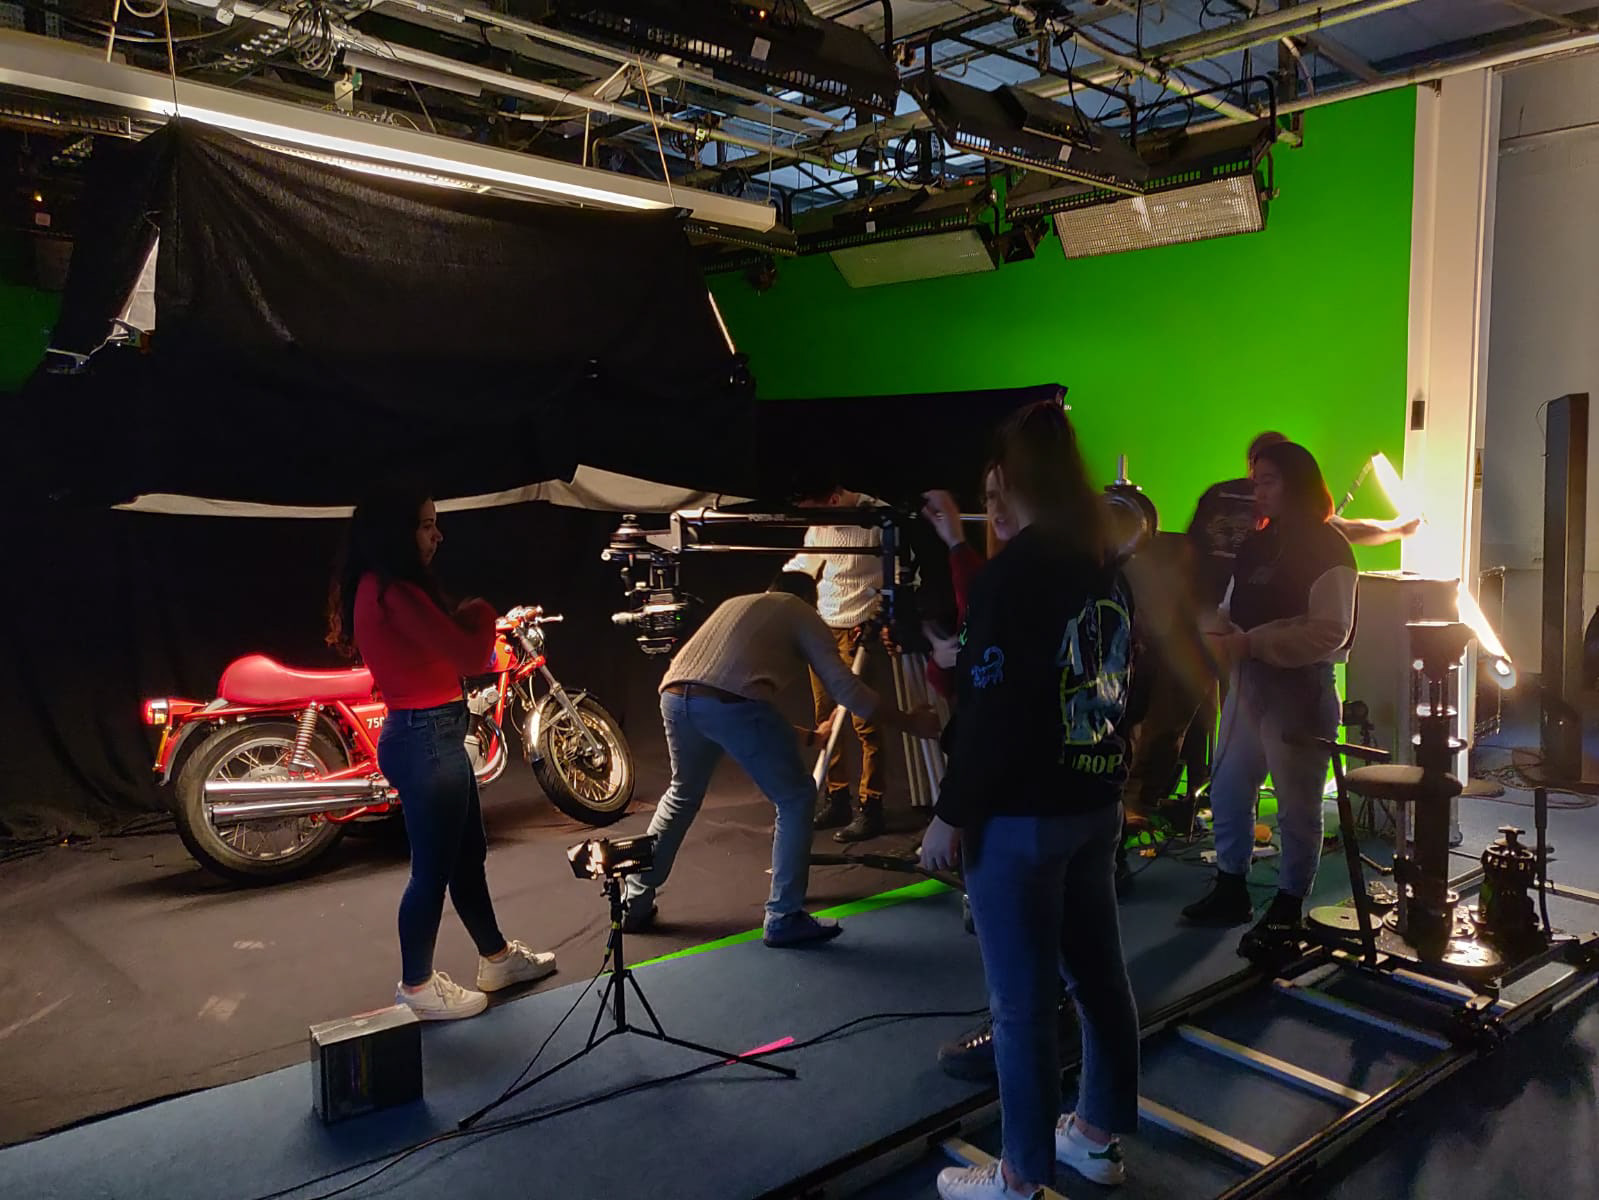
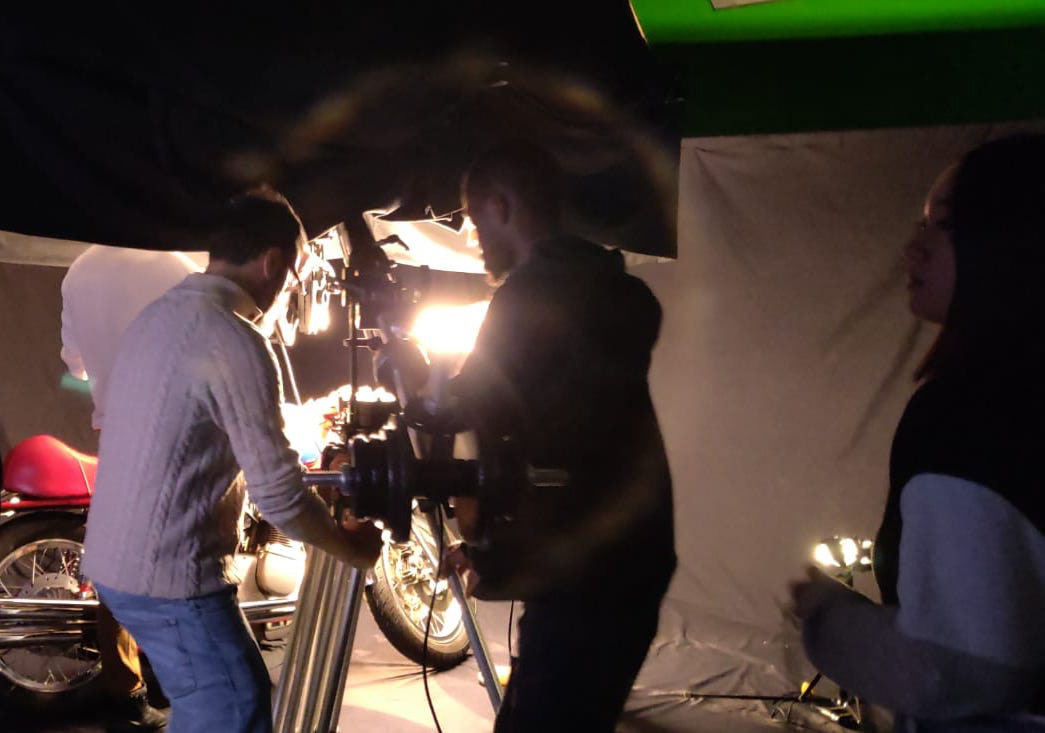
We then had to film the shots of the motorbike. Tony May helped us with lighting the motorbike and gave us tips on how to highlight the specific areas we wanted.
We used the Sony FS7 along with a jib to film smoothly in 4K. The jib allowed us to get closer to the bike and kept the camera steady whilst filming.
For lighting we used a soft box light above the motorbike which allowed us to focus and set the shot. When filming we used the Dado lights and a light sabre, which were stationary or moving to add a reflection to the motorbikes metal.
The Third Step
The third step was sound and music editing. This is when we took the music that we wanted to use and made sure it fit with what we were trying to convey. We then edited the music so we could intertwine any sound effects that we chose to include.
The music style that we chose is suspenseful, being predominantly stringed instruments, with deep heavy beats. This allowed the video to be edited in time with beats of the music.
The Final Step
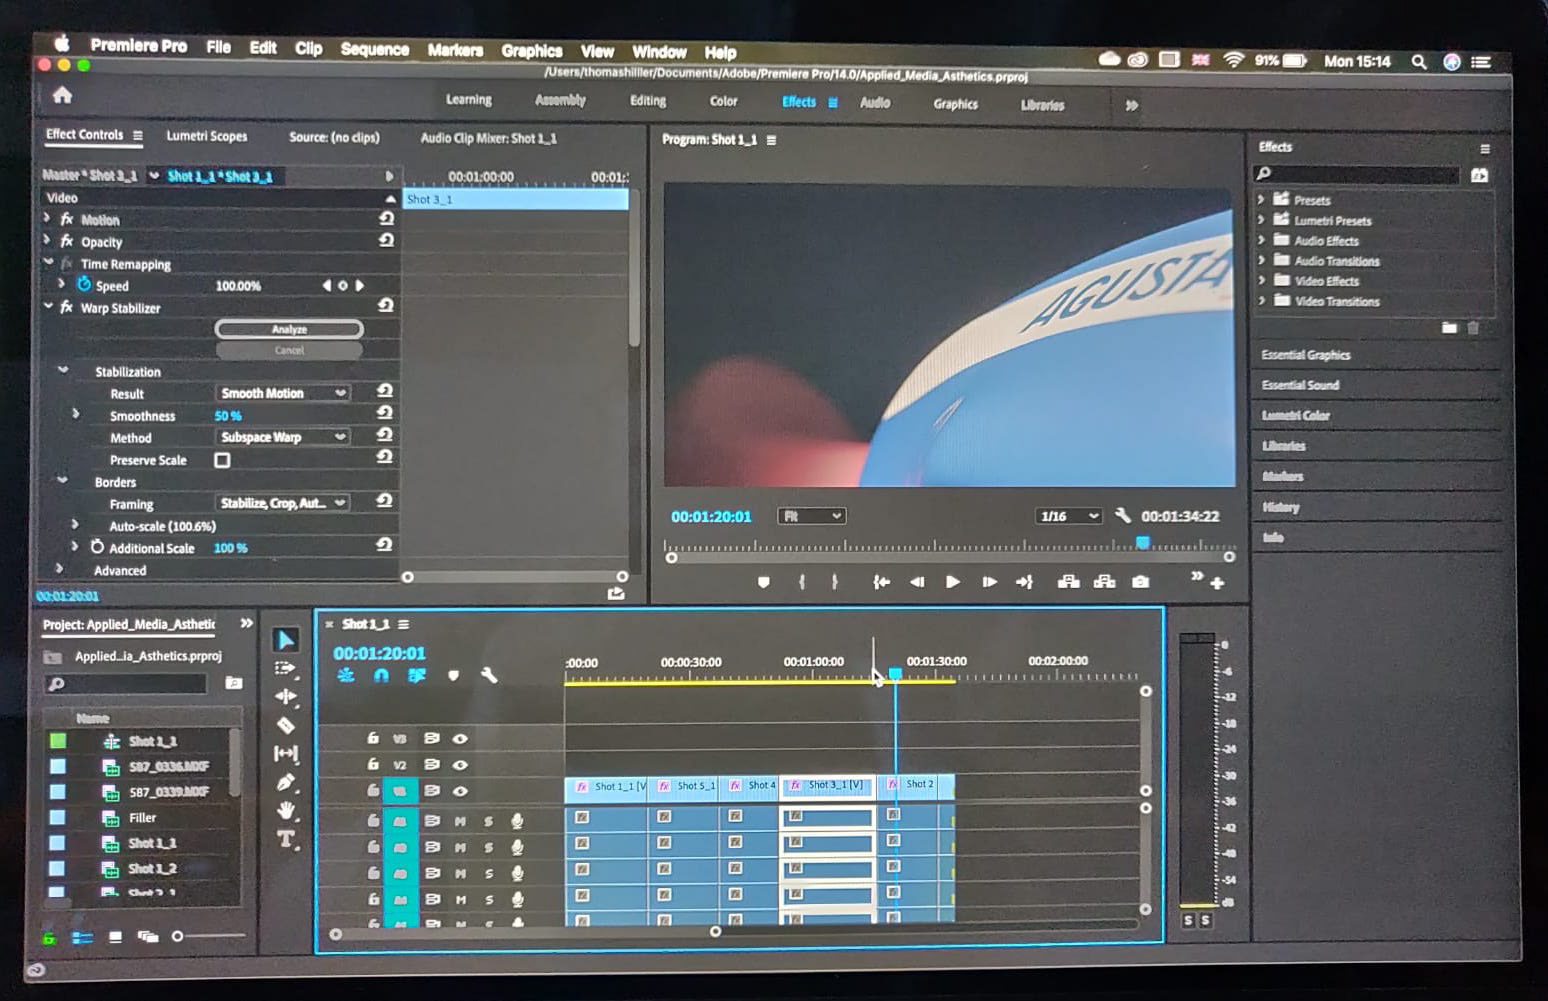
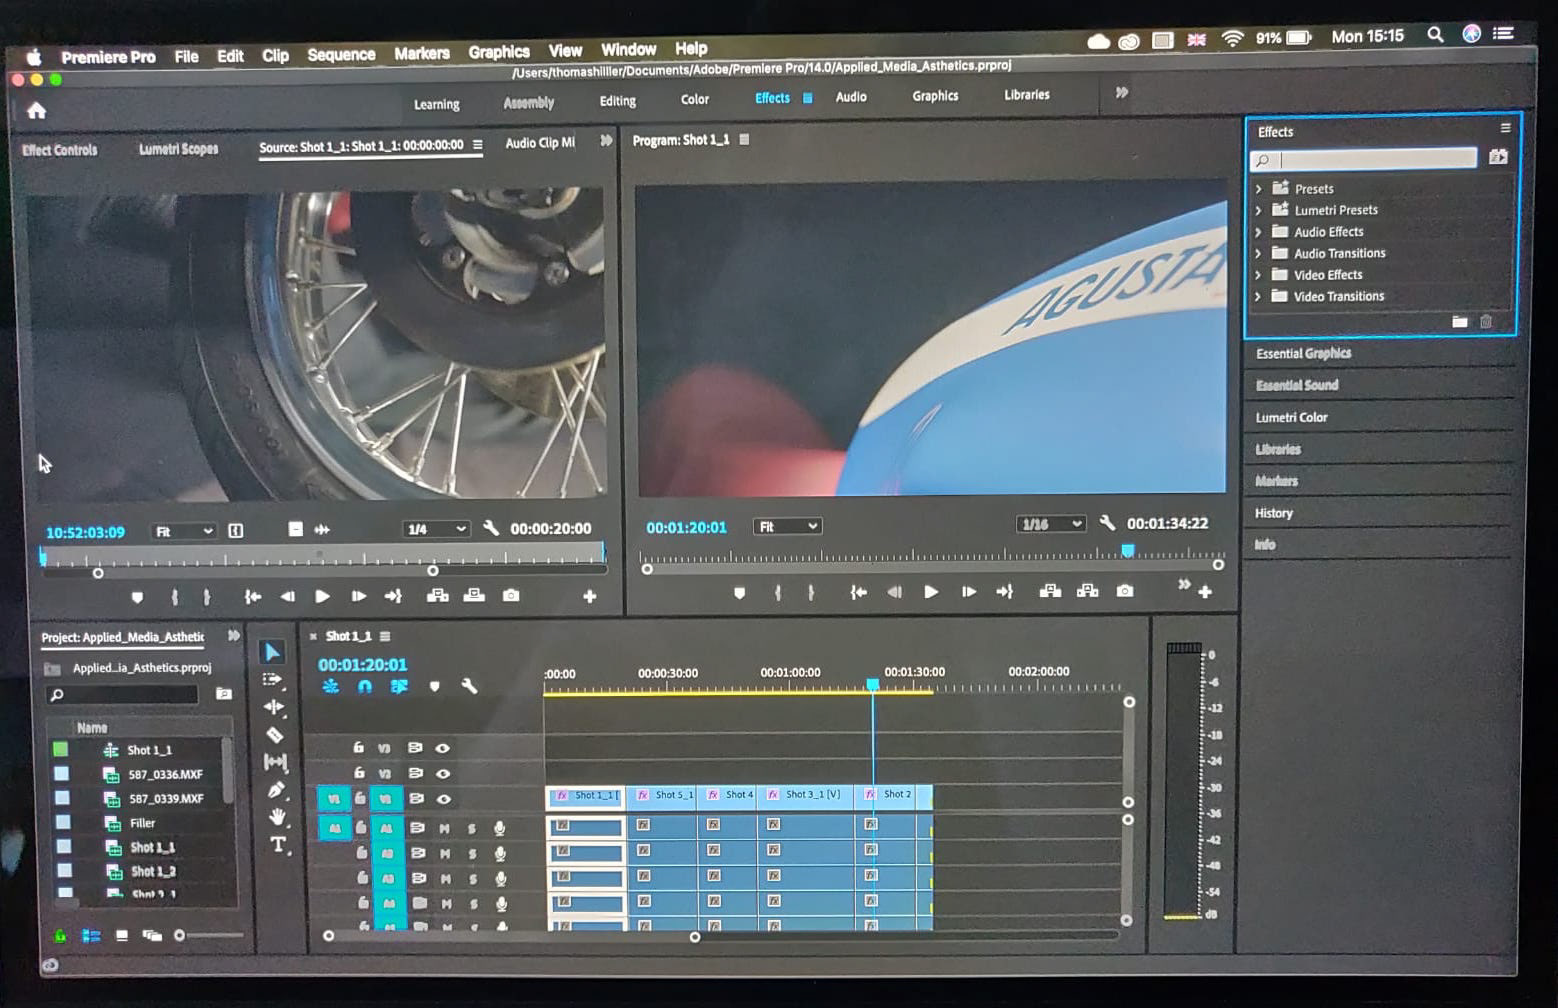
The final step was to edit the video recordings, and follow the directors storyboard to create the final video. This meant editing the videos to make them brighter or darker, stabilise them if there was any shake within the recording, or adding effects to the video itself.
I started off by going through the recordings and selecting the section of the recording that was going to be used in the video. I did this by setting the in and out markers then inserting it into the project timeline.
I corrected the colouring for the recordings, reduced the exposure and increased the contrast to make each clip darker, and to highlight the colours of the bike. I also decreased the black to make the overall scene darker and focusing the attention on the bike.
Then I increased the speed of each shot. I used the time remapping tool which allowed me to increase or decrease the playback of each clip. For one of the clips I had to reverse the whole clip so it would show the name at then end. I did this by clicking on the recording and selecting 'clip' then 'speed/duration,' and then I selected 'reverse'. The reason for doing this so it fits the music that has been selected for the video. Then I edited the clips to end on the main beats of the music.
After this I stabilised all off the recordings so they looked smooth and didn't have any wobble to them. I stabilised them using the warp stabilise tool. This tool automatically analysed the recording and adjusted it automatically to make it smoother.
I also added a fade to black at the end of all the shots as it fit with the music, as the music goes quiet which flowed with the narrative. It also made the flow between the clips better, and at this point the shots where darker and there is a burst of light, showing off the branding of the bike more.
On the final shot I had to add a digital zoom. I managed to do this by adjusting its scale and setting its keyframes, and using those to adjust the amount of zoom.
I set the sound to fade at the end when the video ends. I did this using keyframes and set one when it is at 100% and then another at 0%.
Below is the full edited video below.
Video created by: Thomas, Jovana, Nina, Daniel and Ivy
Review
Overall I think the group worked really well together and produced a really nice video. The one thing that would've improved the quality is having more time to film as this would have allowed us to think through every shot that we were recording, to allow is to record it as smoothly as possible.